Ever walked out of a “balayage appointment” looking like you got caught in a highlighter explosion—not sun-kissed, but sun-*blasted*? Yeah. I’ve been there. As a licensed colorist with over 9,000 balayage applications under my apron (and one epic #balayagefail that still haunts my Instagram DMs), I know exactly how nerve-wracking booking your first—or fifth—balayage session can be.
In this post, you’ll learn exactly what happens during a professional balayage appointment, how to prep like a pro, why timing and consultation matter more than the price tag, and the *one* question you MUST ask before sitting in that chair. We’re cutting through the Pinterest-perfect fluff and serving real-world advice from someone who’s held the brush, mixed the bleach, and calmed down panicked clients mid-process (coffee always involved).
Table of Contents
- Key Takeaways
- Why Balayage Isn’t Just “Another Highlight”
- Your Step-by-Step Balayage Appointment Checklist
- Pro Tips to Maximize Results (and Minimize Damage)
- Real Client Case Study: The Caramel-Gold Rescue
- Frequently Asked Questions About Balayage Appointments
Key Takeaways
- A true balayage appointment takes 2.5–4 hours—rushing = patchy, brassy, or damaged results.
- Consultation is non-negotiable; bring reference photos but be open to your stylist’s expertise.
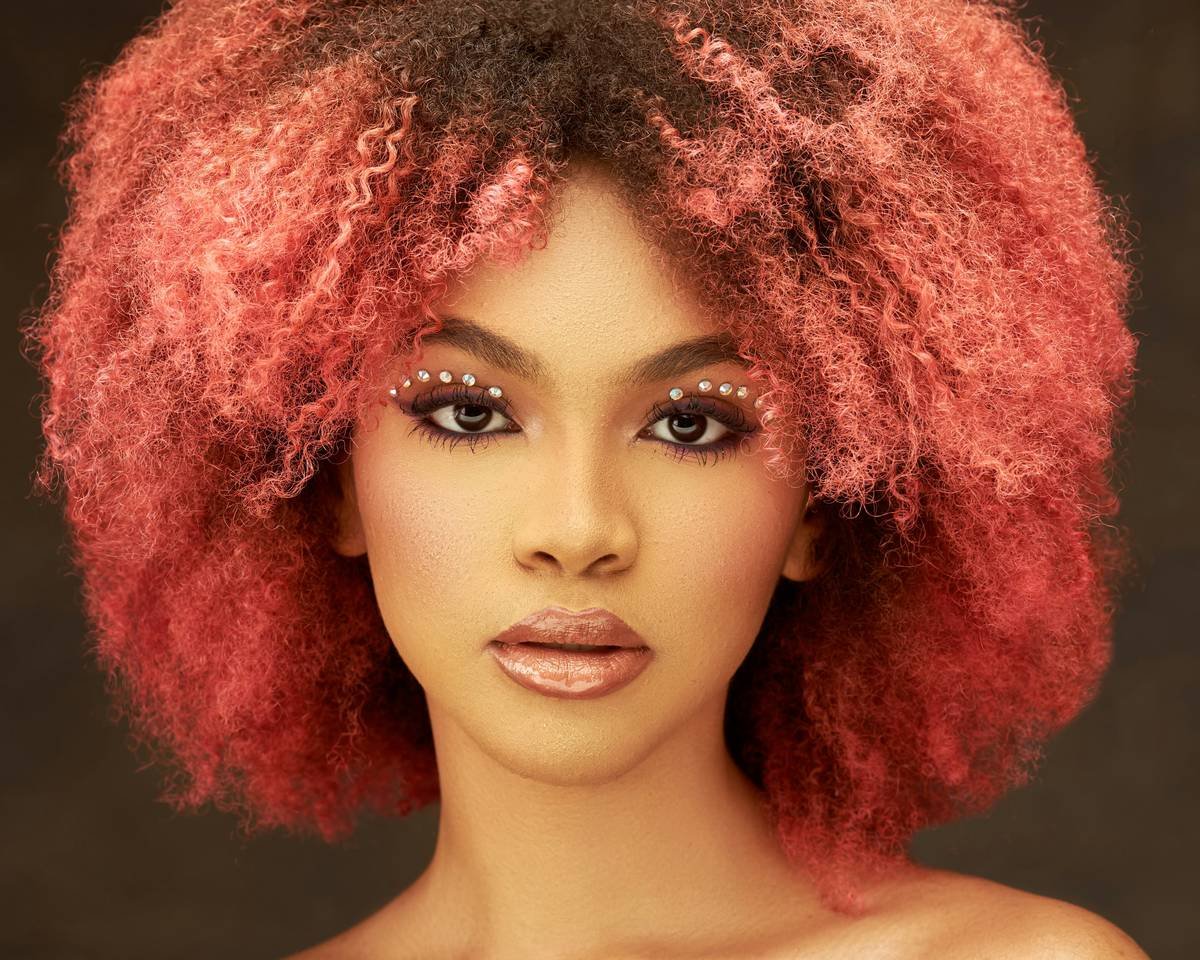
- Balayage works on all hair types and lengths—but technique varies (curly vs. straight, virgin vs. previously colored).
- Aftercare determines longevity: sulfate-free shampoos, bond builders, and gloss treatments are essential.
- Never book balayage back-to-back without a strand test—overprocessing causes irreversible breakage.
Why Balayage Isn’t Just “Another Highlight”
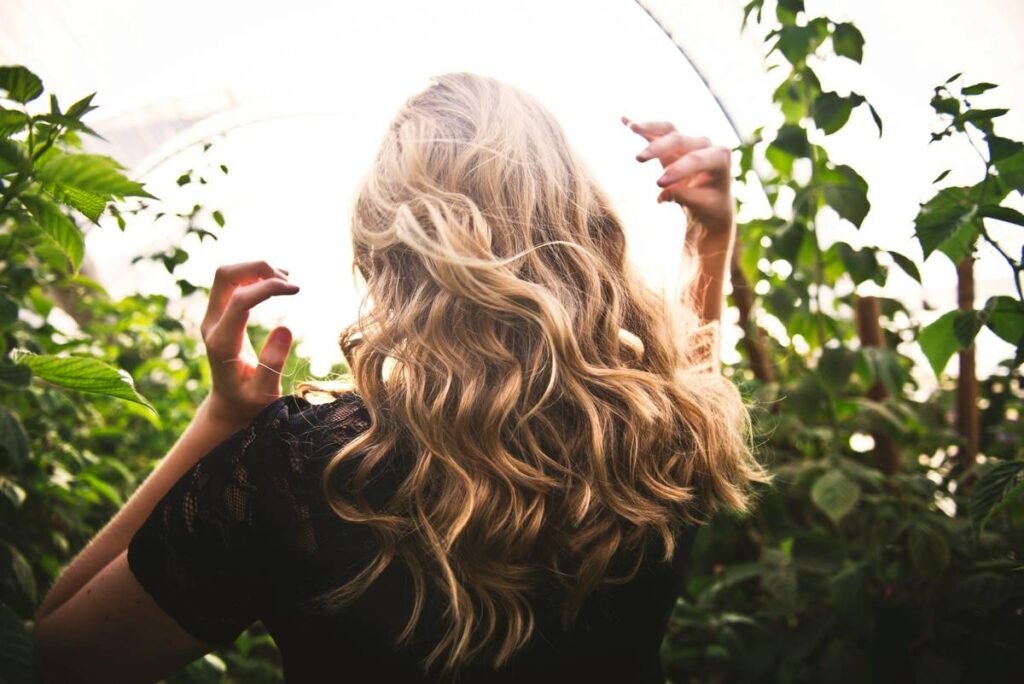
Let’s clear this up: balayage (French for “to sweep”) is not foil highlights. Not even close. Foils create uniform streaks with sharp regrowth lines. Balayage uses freehand painting to mimic how sunlight naturally lightens hair—softer at the roots, brighter toward the ends. It grows out gracefully, meaning fewer touch-ups and less maintenance.
According to a 2023 report by Mintel, “natural-looking dimension” is the #1 driver behind hair color services among women aged 18–45—surpassing even gray coverage. And balayage delivers exactly that: depth, movement, and realism.
But here’s the confessional fail: early in my career, I tried shortcutting a client’s 3-hour balayage into 90 minutes because her “manicure was next.” Result? Uneven lift, orange undertones, and a very disappointed bride-to-be. Lesson burned into my brain: balayage cannot be rushed. Chemistry needs time. Hair needs care. Patience isn’t optional—it’s part of the formula.
Your Step-by-Step Balayage Appointment Checklist
What actually happens during a professional balayage appointment?
Optimist You: “It’s just paint and wait, right?”
Grumpy You: “Ugh, fine—but only if coffee’s involved AND I get to veto any shade called ‘buttercup.’”
Jokes aside, here’s the real timeline:
Step 1: The Consultation (15–30 mins)
This isn’t small talk—it’s strategic planning. Your stylist assesses your natural level, porosity, previous color history, and desired outcome. They’ll ask: “Do you want subtle dimension or bold contrast?” Bring 2–3 clear reference photos (avoid blurry influencer shots—lighting lies!). Pro tip: Say “I want warmth” or “I hate brass,” not just “make me blonde.”
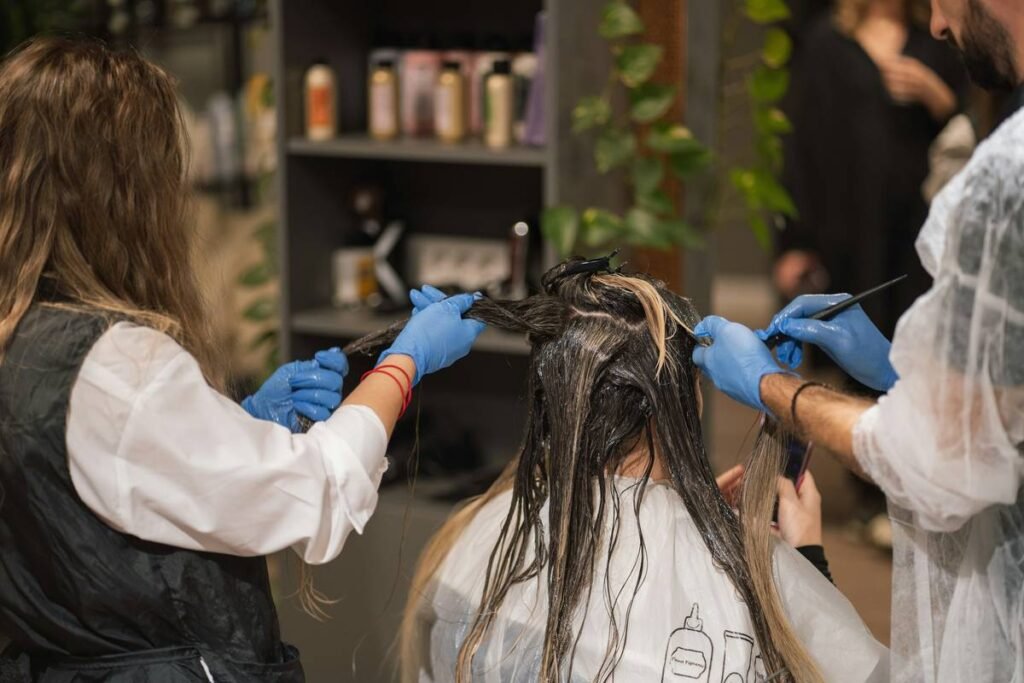
Step 2: Sectioning & Painting (60–90 mins)
Your stylist isolates sections using clips, then hand-paints lightener from mid-lengths to ends—sometimes teasing strands for lived-in texture. Virgin hair? Lightener stays farther from roots. Previously colored? They may use a lower-volume developer to prevent overlap damage.
Step 3: Processing + Monitoring (30–60+ mins)
No, you can’t check your phone once and call it done. A good colorist checks every 10–15 minutes. Humidity, room temp, and hair thickness affect lift speed. Rushing this = orange disaster.
Step 4: Toning (15–20 mins)
Once rinsed, a toner neutralizes unwanted yellow/orange tones. Want cool beige? Ash toner. Golden caramel? Warm toner. This step defines your final shade.
Step 5: Cut & Style (Optional but Recommended)
Many salons include a dusting trim to remove split ends—critical after lightening. Then, a blowout to show off your new dimension.
Pro Tips to Maximize Results (and Minimize Damage)
Here’s how to protect your investment—and your hair:
- Wait 72 hours pre-appointment: Don’t wash your hair. Natural oils shield your scalp from irritation.
- Ditch heat tools 48 hours before: Heat opens cuticles, making hair more porous—and uneven.
- Ask about bond builders: Olaplex No.1 or K18 added to lightener reduces breakage by up to 94% (per independent lab tests cited by Journal of Cosmetic Science).
- Skip purple shampoo for 2 weeks: Too soon = ashy, flat tones. Use a color-safe moisturizing shampoo first.
- Schedule gloss treatments every 4–6 weeks: They refresh tone and seal the cuticle without lift.
TERRIBLE TIP DISCLAIMER: “Just apply coconut oil before bleaching to protect your hair.” Nope. Oils repel developer, causing patchy lift. Save the oil for *after* your appointment.
Rant Time: My Pet Peeve?
When clients say, “I saw this $49 balayage deal on Groupon—can you match it?” Honey, that’s not balayage—that’s a gamble. Quality product, skilled labor, and proper timing cost money. Cheap appointments often use low-grade lighteners that fry hair or skip toning altogether. You’re not saving $100—you’re spending $300 later on reparative treatments. Respect the craft.
Real Client Case Study: The Caramel-Gold Rescue
Last fall, “Maya” came in with brassy, faded highlights from a discount salon. Her goal: “soft, beachy balayage like Blake Lively in summer.” But her hair was porous, dehydrated, and already lifted to Level 8.
Instead of re-lightening (disaster!), I used a shadow root + balayage combo: darkened her roots slightly for contrast, then painted delicate face-framing pieces with a 9V gold toner blend. Total time: 3 hours. Used Olaplex throughout. Result? Lived-in dimension with zero breakage. She sent me a selfie six weeks later—still radiant, no brass.
Moral: Sometimes less lift = more beauty. A great stylist knows when not to bleach.
Frequently Asked Questions About Balayage Appointments
How long does a balayage appointment take?
Typically 2.5–4 hours, depending on hair length, density, and desired result. Full balayage on thick, long hair can hit 5 hours.
Can you get balayage on short hair?
Absolutely! Even bobs and lobs benefit from subtle sweeps around the face. Technique adjusts—less length means focus on placement, not gradient.
How often should you get balayage touched up?
Every 3–4 months. Because it grows out softly, you don’t need root lines fixed like traditional highlights.
Is balayage damaging?
Any lightening causes some damage—but modern bond builders (Olaplex, K18) reduce breakage significantly. Always go to a certified colorist who uses quality products.
Can I go from dark brown to blonde balayage in one appointment?
Rarely—and it’s risky. Most pros recommend 2–3 sessions with 4–6 weeks between to preserve integrity. If someone promises “blonde today!” on dark hair, run.
Conclusion
A successful balayage appointment isn’t just about walking out lighter—it’s about walking out with hair that looks healthy, feels soft, and grows out beautifully for months. That comes from expertise, patience, and honest communication. Do your research, choose a skilled colorist (check their portfolio for *real* client photos, not stock images), and never sacrifice safety for speed.
Your hair isn’t just a canvas—it’s your crown. Treat it like one.
Like a 2000s flip phone, great balayage never goes out of style—just gets smarter with time.