Ever walked out of a salon with “highlight” regrowth screaming louder than your morning alarm after a 3 a.m. Netflix binge? Yeah, we’ve been there. Harsh lines, unnatural contrast, and root anxiety by week three—it’s enough to make you swear off color forever.
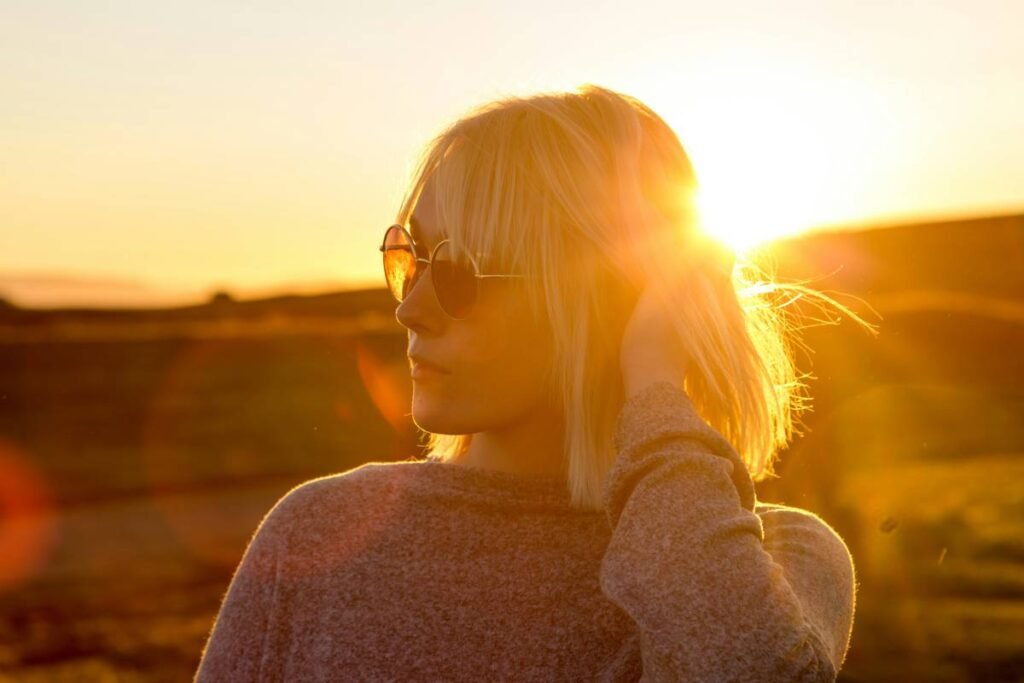
Enter balayage hair effect: the low-maintenance, sun-kissed, “I-just-spent-summer-in-Santorini” look that actually grows out gracefully. But not all balayage is created equal. Done poorly, it can leave you with patchy, brassy strands that read more “DIY disaster” than “beach goddess.”
In this guide, you’ll discover exactly what creates that coveted balayage hair effect, how to choose the right technique for your hair type, pro tips to maintain luminosity without frying your strands, and real client results that prove why this method dominates salon bookings worldwide. Plus, I’ll confess my own early-career balayage blunder (spoiler: bleach + black hair = emergency conditioning protocol).
Table of Contents
- What Is the Balayage Hair Effect?
- How to Achieve the Balayage Hair Effect: Step-by-Step
- 5 Non-Negotiable Tips for Long-Lasting Balayage
- Real Results: Client Case Study
- Balayage Hair Effect FAQs
Key Takeaways
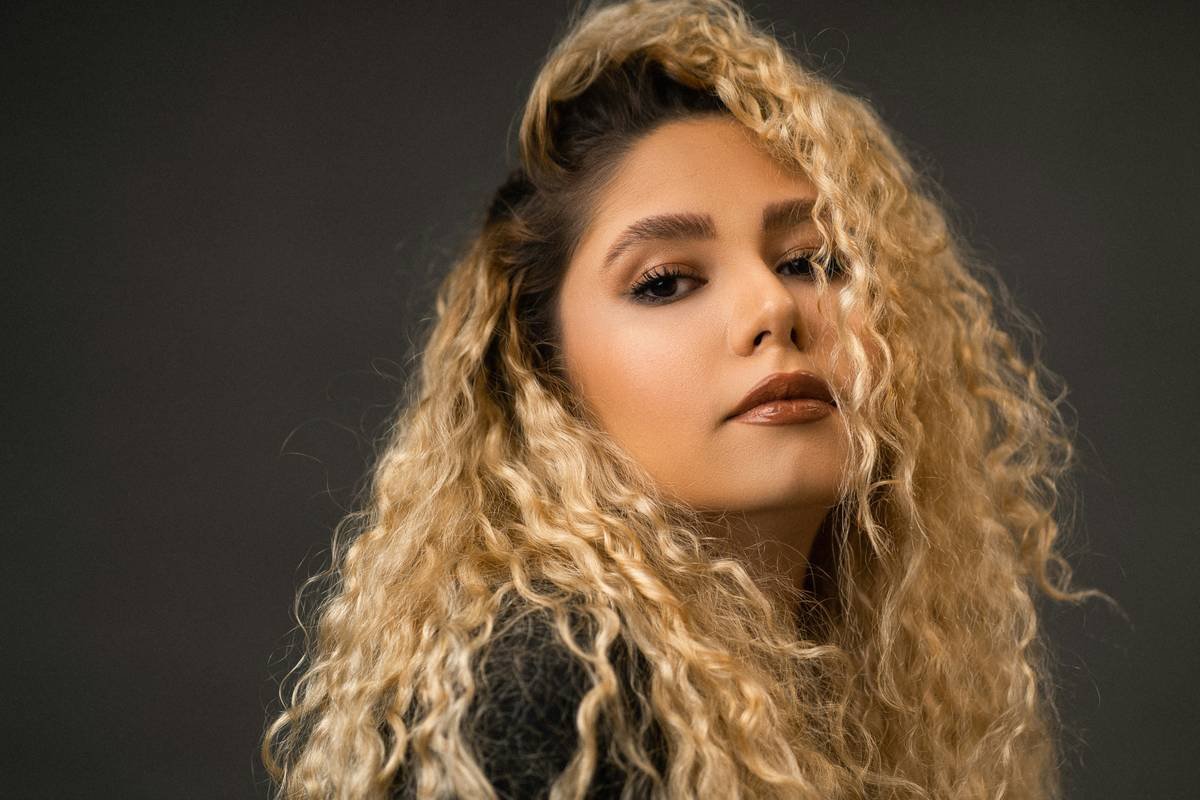
- The balayage hair effect is defined by soft, hand-painted highlights with no harsh lines—mimicking natural sun exposure.
- It works on all hair colors and textures but requires precise formulation and placement based on your base tone.
- Maintenance isn’t zero—it’s smart. Purple shampoos, bond builders, and strategic trims preserve integrity.
- DIY kits rarely replicate true balayage; professional application ensures even lift and dimension.
- When done right, balayage grows out beautifully over 8–12 weeks, reducing salon visits and damage.
What Is the Balayage Hair Effect?
Balayage (pronounced bah-lee-AHZH) comes from the French word “to sweep.” Unlike traditional foil highlights that saturate vertical sections from root to tip, balayage uses a freehand painting technique to apply lightener only where sunlight would naturally hit—typically mid-lengths to ends, with subtle face-framing pieces near the roots.
The result? A multidimensional gradient that adds depth, movement, and luminosity without obvious demarcation lines. According to Behind the Chair, balayage accounts for over 60% of all color services in U.S. salons as of 2023—not because it’s trendy, but because it solves real problems: less root upkeep, reduced chemical overlap, and adaptability across skin tones.
But here’s where many go wrong: assuming “balayage” just means “lighter ends.” True balayage considers your undertone, porosity, previous color history, and even facial structure. Paint too high on resistant Asian hair? You get orange splotches. Skip toner on bleached brunette? Brass alert.
I learned this the hard way during my first year as a colorist. A client came in with jet-black virgin hair wanting “soft caramel balayage.” Eager to please, I applied 40-volume developer liberally—and watched in horror as her ends turned pumpkin-orange while roots barely lifted. It took three corrective toning sessions and a bond-repair protocol to salvage it. Lesson burned into my cortex: balayage is art, not arithmetic.
How to Achieve the Balayage Hair Effect: Step-by-Step
Want that effortless radiance? Here’s how pros do it—no magic, just method.
Step 1: Consultation & Strand Test
Never skip this. Assess natural level, porosity, elasticity, and desired outcome. Perform a strand test to determine processing time and developer strength (usually 20 or 30 vol). For dark bases (levels 1–4), opt for lower volume to avoid banding.
Step 2: Section Strategically
Divide hair into quadrants. Focus on surface layers—balayage isn’t about saturating every strand. Use a fine-tail comb to lift small, zigzag-shaped slices (not blunt panels!) for organic blending.
Step 3: Paint with Precision
Using a balayage brush, apply lightener from mid-shaft downward, feathering upward toward roots but never touching them. For face-framing pieces, start 1–2 inches from scalp and blend outward. Less is more: over-saturation causes patchiness.
Step 4: Process Mindfully
Check every 5–7 minutes under natural light. Stop when hair reaches within one level of target tone (e.g., if aiming for level 8, pull at level 7). Over-processing leads to breakage and brassy tones.
Step 5: Tone & Treat
Rinse thoroughly, then apply a custom toner to neutralize unwanted warmth (ash for cool, gold/beige for warm). Follow with an in-salon bond builder like Olaplex No.1 or K18, then seal with a hydrating masque.
Optimist You: “Follow these steps and glow like you own a villa in Mykonos!”
Grumpy You: “Ugh, fine—but only if my stylist brings me an iced matcha latte while they work.”
5 Non-Negotiable Tips for Long-Lasting Balayage
- Use sulfate-free, color-safe shampoo. Sulfates strip toners and accelerate fade. Try Redken Color Extend or Pureology Hydrate.
- Wash with cool water. Hot water opens cuticles, leaching pigment. Cool rinses lock in shine.
- Apply purple/blue shampoo weekly. Counteract brassiness—but don’t overdo it (max 2x/week) or you’ll get ashy tones.
- Re-bond monthly. At-home treatments like Olaplex No.3 or K18 Mask repair internal damage from lifting.
- Schedule gloss appointments every 8–10 weeks. A clear or demi-permanent gloss refreshes tone without lift—keeping your balayage hair effect vibrant.
🚫 Terrible Tip Alert:
“Just use lemon juice and sit in the sun!” Nope. Citric acid + UV = protein degradation. You’ll end up with dry, straw-like ends—not golden dimension. Save the DIY for guacamole.
Real Results: Client Case Study
Client: Maya R., 29, natural level 5 brown with warm undertones
Goal: Bright, cool-toned balayage that complements her olive skin
Challenge: Previous box dye left hair porous at ends, resistant at roots
Approach: Used Wella Blondor Freelights with 20-volume developer on ends (pre-treated with K18), 30-volume on mid-lengths. Avoided roots entirely. Toned with Wella Illumina 9/16 + 9/01 mix.
Result: Seamless transition from deep espresso roots to ash-caramel ends. After 10 weeks, zero visible line of demarcation. Maya reported 40% fewer washes due to enhanced body and shine.
Her secret? Bi-weekly K18 treatments and switching to a microfiber towel (less friction = less frizz).
Balayage Hair Effect FAQs
Does balay日消息 work on black hair?
Yes—but expect multiple sessions. Going from level 2 to level 8+ risks breakage. A skilled colorist will lift gradually and incorporate lowlights for balance.
How long does the balayage hair effect last?
The dimensional look lasts 10–12 weeks. Toner fades in 4–6 weeks, so use color-depositing conditioners to extend vibrancy.
Is balayage damaging?
Less than full bleach, but still involves chemical processing. Always pair with bond-building treatments pre-, during, and post-service.
Can I get balayage on short hair?
Absolutely! On bobs or lobs, focus on piece-y ends and subtle crown pops for texture.
Why does my balayage look orange?
Incomplete toning or underlying red/orange pigments surfacing during lift. A violet-based toner usually corrects this.
Conclusion
The balayage hair effect isn’t just a trend—it’s a smarter approach to dimension that honors how hair naturally interacts with light. By prioritizing placement over saturation, growth patterns over rigid lines, and hair health over extreme contrast, it delivers lasting beauty with minimal upkeep.
Whether you’re a first-timer or refreshing faded color, choose a certified colorist who understands pigment theory and structural integrity. And remember: great balayage whispers elegance—it never shouts.
Like a Tamagotchi, your balayage needs daily care… but way less annoying.
Sun-kissed strands,
Painted like whispers—no lines.
Hair breathes, glows, lives.