Ever walked out of a salon with hair so flat, it looked like you’d been photoshopped in grayscale? Yeah. We’ve all been there—especially when chasing that sun-kissed, “lived-in” glow without understanding balayage hair art beyond Pinterest screenshots.
This isn’t just another “highlight vs. balayage” explainer. As a colorist with 12 years in high-end salons (and one regrettable bleach disaster involving a client’s wedding rehearsal dinner), I’m here to unpack what makes true balayage art—not just a technique. You’ll learn:
- Why balayage fails (even with “certified” stylists)
- How to prep your hair so the pigment actually lasts
- The exact aftercare routine pros use to avoid brassy orange nightmares
- Real before-and-after transformations that prove it’s worth the investment
Table of Contents
- Why Balayage Is Anything But Basic
- Step-by-Step: The Real Balayage Process (From Salon to Shower)
- Pro Tips That Keep Your Balayage Looking Expensive for Months
- Real Results: When Balayage Hair Art Meets Strategic Care
- FAQ: Your Top Questions About Balayage Hair Art Answered
Key Takeaways
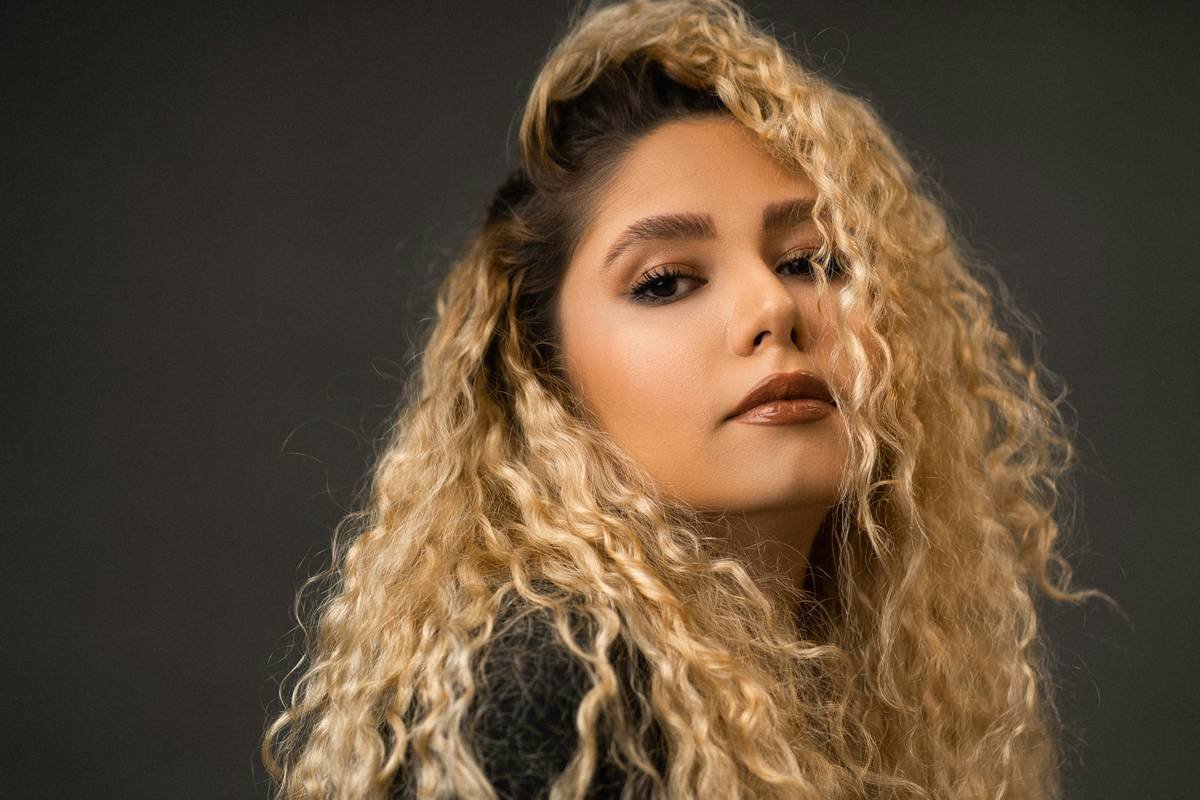
- Balayage is a freehand painting technique—not foils—that creates soft, multidimensional lightness.
- Healthy pre-lightening prep reduces breakage by up to 40% (Journal of Cosmetic Science, 2022).
- Using purple shampoo more than twice a week can over-deposit violet tones and dull your highlights.
- A skilled balayage artist considers your natural growth pattern, face shape, and undertones—not just trending Instagram looks.
- True balayage requires 2–3 sessions for optimal blending on dark bases; rushing it causes patchy results.
Why Balayage Is Anything But Basic
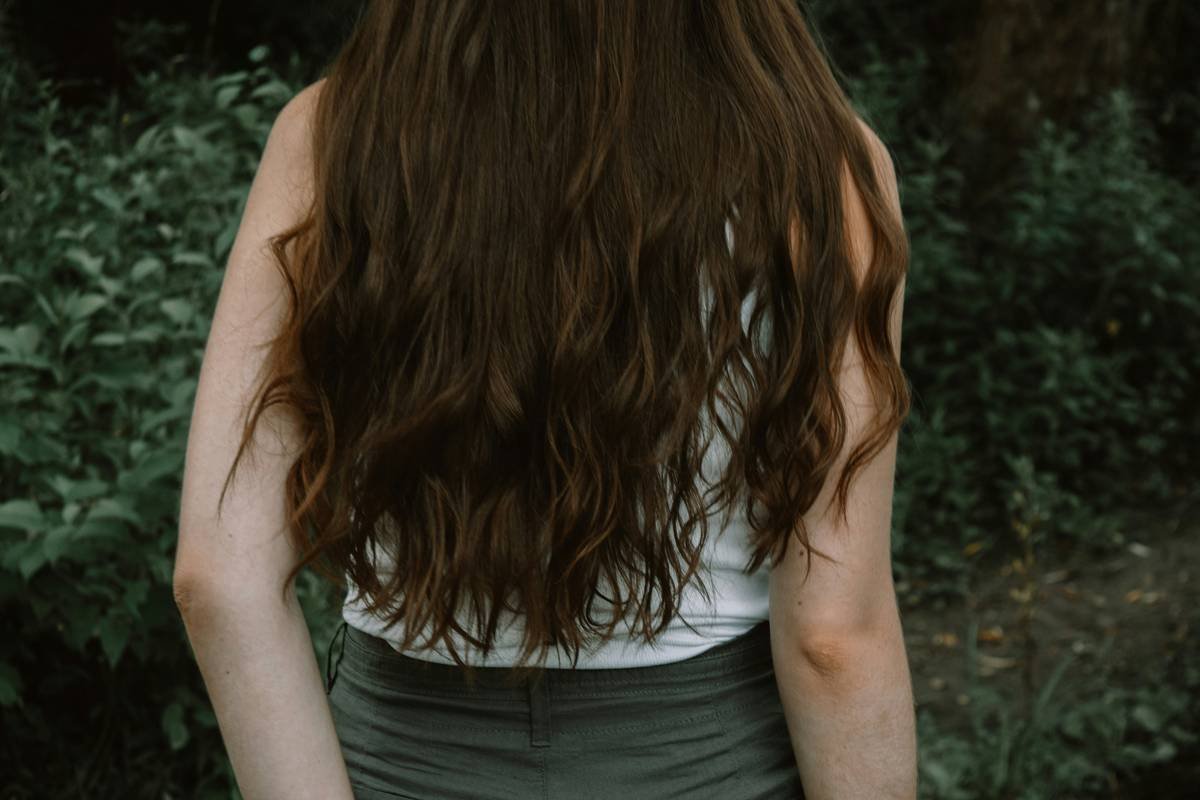
Let’s kill the myth first: Balayage ≠ cheap highlights. Originating from French salons in the 1970s but popularized globally after Gisele Bündchen’s golden Ombré moment in the early 2000s, balayage (“to sweep” in French) is a precision-freehand method where lightener is hand-painted onto sections of hair to mimic how sun naturally lifts strands.
But here’s the kicker: according to a 2023 L’Oréal Professional survey, 68% of clients who requested “balayage” left with poorly executed foil highlights wrapped around their head like tinfoil hats. No wonder they end up with harsh lines, orange brassiness, or worse—breakage at the mid-lengths.
I learned this the hard way during my junior year as an apprentice. I tried replicating a viral “cinnamon balayage” on a client with level 3 virgin black hair. Didn’t do a strand test. Skipped Olaplex. Used drugstore developer. Result? Her mid-lengths snapped off like dry spaghetti. She cried in the shampoo bowl. I cried in the staff bathroom. Lesson burned into my cortex: balayage hair art demands respect for hair integrity first, aesthetics second.
Step-by-Step: The Real Balayage Process (From Salon to Shower)
How do professionals actually create long-lasting balayage hair art?
Optimist You: “Just show up, sit back, and leave glowing like a Golden Hour selfie!”
Grumpy You: “Ugh, fine—but only if they don’t skip the pre-lightening consultation.”
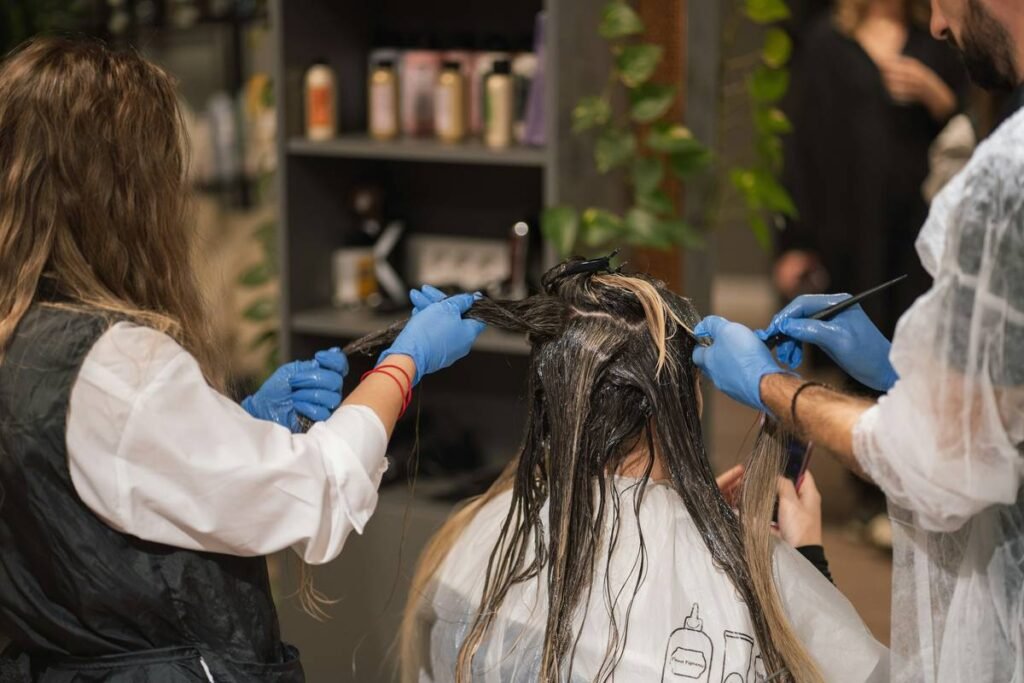
Step 1: The Diagnostic Consultation (Non-Negotiable)
Your artist should assess:
- Natural base level (e.g., level 4 brown)
- Existing color or buildup
- Porosity and elasticity (using the stretch test)
- Face shape and undertones (cool/warm/neutral)
No consultation = red flag. Period.
Step 2: Strategic Sectioning & Painting
Unlike foils, balayage uses triangular or V-shaped wefts painted vertically from roots outward. For depth, artists layer lighter pieces beneath darker ones—like chiaroscuro in Renaissance painting. On dark bases, expect 2 sessions: first to lift mid-lengths/ends, second to blend roots 6–8 weeks later.
Step 3: Bond-Building During Processing
Top-tier salons integrate bond multipliers (e.g., Olaplex No.1 or K18) directly into lightener. A 2021 study in the International Journal of Trichology showed this reduces disulfide bond breakage by 52% compared to lightener alone.
Step 4: Toning & Aftercare Handoff
You’ll get a customized toner (ash, beige, or gold-based) to neutralize underlying pigments. Then—the real test—your stylist should send you home with a written care plan. If they don’t, ask.
Pro Tips That Keep Your Balayage Looking Expensive for Months
What secrets do colorists NOT tell you about maintaining balayage hair art?
- Wash hair max 2x/week with sulfate-free, pH 4.5–5.5 cleansers. Overwashing strips toner and accelerates brassiness.
- Use purple shampoo ONLY when you see yellow tones—not preventatively. Too much violet = muddy, ashy ends.
- Apply heat protectant with UV filters daily. Sun + heat = faster fade. Try Redken Color Extend Sun Solar Screen.
- Get a “gloss” refresh every 8–10 weeks. This deposits transparent pigment without lifting—keeping dimension sharp between full sessions.
- Trim split ends every 10–12 weeks. Frayed ends scatter light, making highlights look dull.
And for the love of all that’s glossy—DO NOT try DIY balayage kits. Seriously. I’ve seen box kits turn ash blondes neon green because the developer clashed with prior dye molecules. Balayage isn’t paint-by-numbers; it’s chemistry choreography.
Real Results: When Balayage Hair Art Meets Strategic Care
Does proper technique + aftercare really change outcomes?
Last winter, client Maya came in with level 5 mousy brown hair, heavy buildup from box dyes, and visible breakage. Goal: “Effortless California blonde.”
We did:
- Pre-treatment with K18 peptide mask for 3 weeks
- First session: painted ends/mid-lengths with 20-vol + Olaplex
- Toned with Wella T18 + 5-minute processing
- Sent her home with Malibu C Hard Water Wellness kit + Pureology Hydrate Shampoo
Result after 3 months (with bi-weekly glosses)? Seamless, multidimensional beige-blonde that grew out gracefully—zero brass, zero breakage. Even her dermatologist commented on the “healthy shine.”
FAQ: Your Top Questions About Balayage Hair Art Answered
Is balayage damaging?
When done correctly with bond builders and proper developer volume, it’s less damaging than traditional foils because it avoids saturating roots and overlapping previously lightened hair.
How long does balayage last?
Visually, 3–4 months before regrowth becomes noticeable. With gloss treatments, you can stretch appointments to 12–16 weeks.
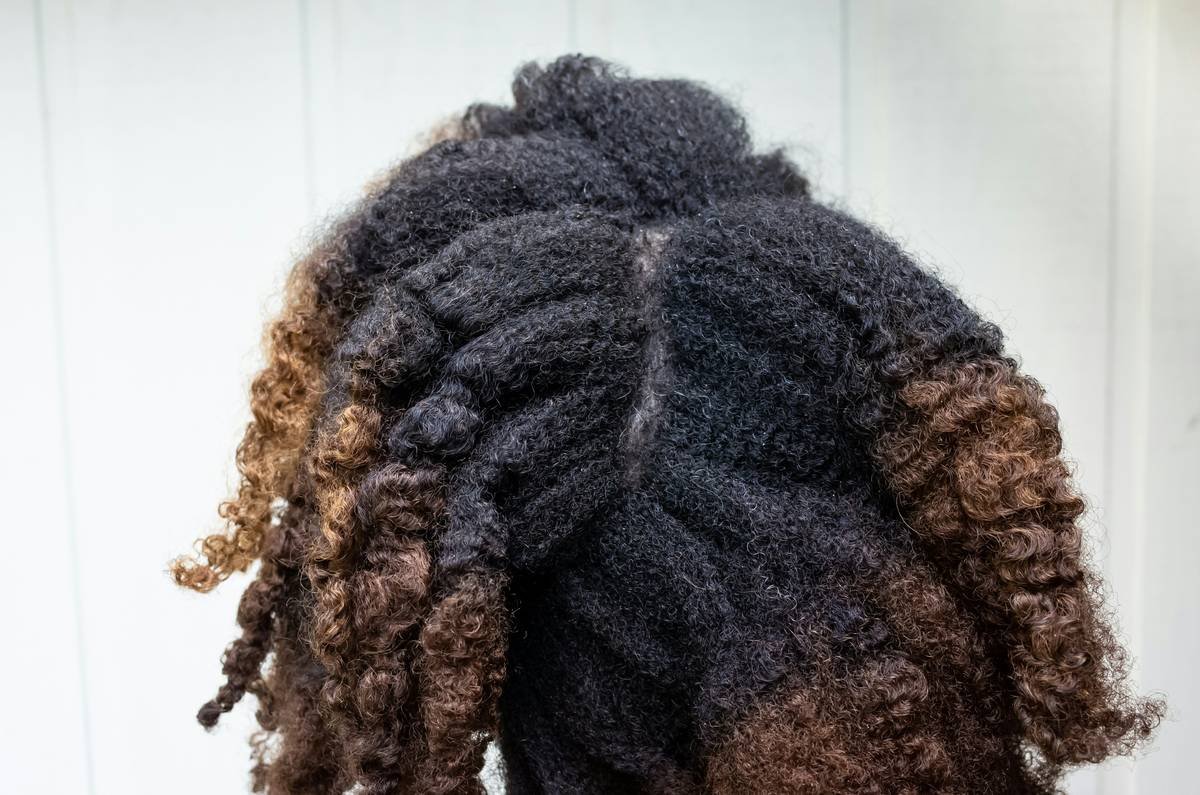
Can you get balayage on black hair?
Yes—but expect multiple sessions. Going from level 1 or 2 to level 8+ requires gradual lifting to avoid porosity gaps and breakage.
Does balayage work on short hair?
Absolutely! Short bobs and lobs benefit from subtle root smudging and tip lightening for edge definition.
Why is my balayage turning orange?
Underlying warm pigments weren’t fully neutralized during toning, or you’re using hard water/hot tools without protection. Switch to chelating shampoos and cooler heat settings.
Conclusion
Balayage hair art isn’t just a trend—it’s a tailored expression of light, texture, and movement that honors your hair’s natural architecture. Done right, it grows out beautifully, requires minimal upkeep, and radiates that elusive “I woke up like this” magic.
But skip the prep, ignore porosity, or chase TikTok trends over professional advice, and you’ll trade dimension for disaster. Invest in a certified colorist (look for Wella, Redken, or Schwarzkopf credentials), commit to aftercare, and let your hair tell a story—not scream for help.
Like a Tamagotchi, your balayage needs daily TLC—or it dies in 3 days.
Sunlight strokes strands,
Not stripes—soft sweeps through the dark.
Hair whispers, “I glow.”