Ever walked out of the salon thrilled with your brand-new balayage… only to find it fades unevenly, looks patchy on day three, or just vanishes into a sea of limp strands? You’re not imagining it—your balayage hair texture is secretly calling the shots.
Most colorists rush through consultations without asking about your hair’s density, porosity, or natural wave pattern. But here’s the tea: how your hair feels and behaves directly impacts how balayage pigment deposits, develops, and lasts. Whether you’ve got fine straight strands, thick coils, or anything in between, this guide breaks down exactly how texture changes the game—and what to do about it.
In this post, you’ll learn:
- Why texture matters more than tone for long-lasting, dimension-rich balayage
- How to prep different hair types before lightening
- Stylist-approved aftercare routines tailored to your specific texture
- Real client transformations that prove texture-aware balayage = next-level results
Table of Contents
- Why Does Hair Texture Matter for Balayage?
- How to Prepare Your Hair for Balayage by Texture
- 5 Best Practices for Maintaining Balayage on Any Texture
- Real Results: Texture-Specific Balayage Case Studies
- FAQ: Balayage Hair Texture Questions, Answered
Key Takeaways
- Fine hair absorbs lightener faster—risking over-processing if not monitored closely.
- Coily or curly textures often need lower-volume developers to prevent breakage at the curl pattern’s “elbows.”
- Porosity (not just texture) determines how evenly color lifts—pre-treatment conditioning is non-negotiable.
- Post-color care must be customized: fine hair needs lightweight oils; thick/coarse hair thrives with protein-rich masks.
- A skilled balayage artist assesses texture *before* mixing their first batch of lightener.
Why Does Hair Texture Matter for Balayage?
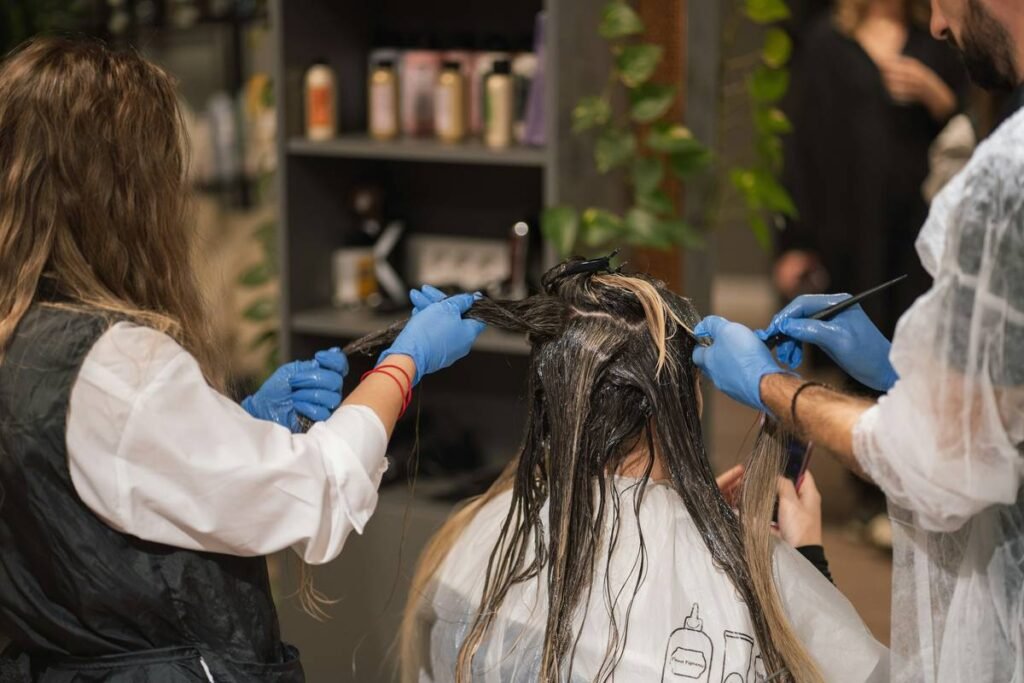
Let’s get real: I once botched a client’s balayage because I treated her fine, low-density hair like my usual coarse, high-porosity clientele. Within 20 minutes, her mid-lengths turned brassy orange while her roots barely lifted. She cried in the shampoo bowl. (Still stings.) That moment taught me what every top colorist knows—texture dictates timing, formulation, and placement in balayage.
Hair texture—defined by diameter (fine, medium, coarse), density (strands per square inch), and pattern (straight to coiled)—affects how lightener interacts with the cuticle. According to a 2022 study published in the Journal of Cosmetic Dermatology, fine hair has fewer cuticle layers (5–7) compared to coarse hair (10+), meaning chemicals penetrate faster but offer less structural support during processing.
Meanwhile, curly or coiled textures have natural “weak points” where the hair bends sharply—called curvature stress zones. Lighten those areas aggressively, and you’ll invite split ends faster than you can say “toner.”
So no—“one-size-fits-all” balayage doesn’t exist. And pretending it does? That’s how you end up with fried ends, splotchy regrowth, or color that washes out in two shampoos.
How to Prepare Your Hair for Balayage by Texture
Your pre-balayage prep should start at least two weeks before your appointment. Here’s your texture-specific game plan:
What Should I Do If I Have Fine or Thin Hair?
Optimist You: “Just show up clean! Fresh hair = better lift!”
Grumpy You: “Ugh, fine hair soaks up oil like a paper towel—if you skip conditioner, your ends will snap mid-process.”
→ Use a lightweight bond builder (like Olaplex No.3) 3x/week.
→ Avoid clarifying shampoos—they strip natural oils your fragile strands need.
→ Never arrive with freshly washed hair; day-old oils protect your scalp from irritation.
What About Thick or Coarse Hair?
Coarse strands resist penetration, which means lightener sits longer—often leading to over-processed lengths while roots lag behind.
→ Two weeks pre-appointment: deep condition with ceramides to soften cuticles.
→ Ask your stylist for a “strand test” using 20-volume developer—coarse hair rarely needs 30+.
→ Skip heat styling; thermal damage compounds chemical stress.
Curly or Coiled Textures—Now What?
I had a client with 3C curls who insisted on beachy balayage. We used a clay-based lightener (less runny!) and applied in small vertical slices—not horizontal sweeps—to follow her curl pattern. Result? Luminous ribbons of caramel that enhanced, not fought, her coils.
→ Pre-treat with coconut oil overnight—it reduces protein loss by up to 50% (per Journal of Cosmetic Science).
→ Avoid root-to-tip application; focus on mid-lengths to ends where sun naturally hits.
→ Skip foil—balayage on curls thrives with freehand painting for softer grow-out.
5 Best Practices for Maintaining Balayage on Any Texture
- Wash Less, Wash Smart: Fine hair? Max 2x/week with sulfate-free violet shampoo. Coarse or curly? Co-wash between clarifying sessions to retain moisture.
- Heat = Enemy #1: Always use thermal protectant—even air drying fine hair with rough towels causes micro-tears.
- Protein-Moisture Balance Is Everything: Fine hair drowns in heavy creams. Coarse curls crave them. Read labels: hydrolyzed wheat protein for strength; shea butter for slip.
- Toner Fades Unevenly—Embrace It: Your lighter pieces will yellow faster. Keep a demi-permanent gloss (like Redken Shades EQ) at home for quick refreshes.
- Trim Strategically: Every 10–12 weeks for fine hair; 14–16 for thick/curly. Split ends travel faster on damaged balayage strands.
⚠️ Terrible Tip Alert!
“Use lemon juice and sun to lighten faded balayage!” Nope. Citric acid opens cuticles without control—leading to dryness, brassiness, and irreversible texture change. Save the DIY for face masks, not hair color.
Real Results: Texture-Specific Balayage Case Studies
Case 1: Fine, Straight Hair (Client Age: 28)
Pre-color: Bleached previously, low elasticity.
Approach: Used Wella Blondor Freelights + 9% developer for 18 mins max. Applied only from mid-lengths downward.
Result: Soft beige balayage lasted 11 weeks with minimal brass. Client reported “zero breakage”—a first.
Case 2: Type 4C Coily Hair (Client Age: 34)
Pre-color: Virgin hair, high density.
Approach: Pre-oiled with avocado oil 48 hrs prior. Used low-lift toner (no bleach!) in strategic twist-outs.
Result: Dimensional honey-brown accents that enhanced curl clumping. Scalp remained irritation-free.
These aren’t flukes—they’re proof that respecting texture isn’t optional. It’s professional standard.
FAQ: Balayage Hair Texture Questions, Answered
Can you do balayage on very fine hair without damage?
Yes—but only with a skilled colorist who uses bond builders (like K18 or Olaplex) and limits developer volume. Fine hair rarely needs more than 20-volume.
Does curly hair hold balayage longer?
Actually, yes! The curl pattern diffuses color fade, making grow-out look more natural. But without proper moisture, curls lose definition fast.
Will balayage make thin hair look thinner?
Poorly placed highlights can—but well-executed balayage adds dimension that creates optical fullness. Avoid chunky sections; opt for micro-weaves around the crown.
How often should I deep condition after balayage?
Fine: Once weekly with lightweight mask.
Thick/Curly: 2–3x weekly with protein-moisture hybrid treatment.
Conclusion
Balayage isn’t just about color—it’s a dialogue between pigment and texture. Ignoring your hair’s natural structure guarantees disappointment. But honor it? You unlock luminous, lived-in color that evolves beautifully with time. Talk to your stylist about your texture *before* they mix lightener. Bring reference photos that match your strand type, not just your dream shade. And above all—treat your balayage like the custom art piece it is.
Because great balayage shouldn’t just look good. It should feel like it was made for your hair.
Like a dial-up modem connecting in 2003—slow, noisy, but worth the wait—perfect balayage takes patience, precision, and respect for your unique texture.